Quick start ⚡ Quick start info for sowing broccoli ⚡
🌱 Sowing & planting
Broccoli ( Brassica oleracea ) belongs to the cabbage family and the cruciferous family. It is a versatile cabbage with firm flower buds that you can grow at different times of the year.
- Sowing depth: approximately 1.25 cm.
- Sowing method: sow in pots of approx. 8 cm.
- Germination temperature: from approximately 7 °C.
- Germination time: 🕒 7–10 days.
- Planting distance: 60 cm between rows, 35–45 cm between plants.
- Growth cycle: approximately 140 days from sowing to harvest.
- Plant out: as soon as the plants have 4 true leaves.
📅 Growing times throughout the year
- Early cultivation: sow under glass from February to mid-March, harvest in June.
- Summer cultivation: sow outdoors from late March to May, harvest in July–August.
- Autumn/spring cultivation: sow outdoors in June–early July, harvest in March–April (after overwintering).
Basic information about broccoli
- Crop group: cabbage crop.
- Crop family: Cruciferous family.
- Height: approximately 45–75 cm.
- Root system: 45–90 cm deep.
- Frost resistance: not really frost hardy; light cold is possible, but avoid prolonged or severe frost.
- Preferred soil: Well-drained, nutritious soil with pH 6.2–7.2.
- Fertilization: start with a nitrogen-rich fertilizer (e.g. nettle manure, cow manure), then switch to potassium-rich foods such as comfrey manure. Too much nitrogen produces lots of leaves and few flowers.
Location & water requirements
- Sun: 🌤️ Partial shade to sun, preferably an open and airy position.
- Water: 💧💧 Moderate water needs; keep the soil moist during growth and bud formation, but do not allow it to become waterlogged.
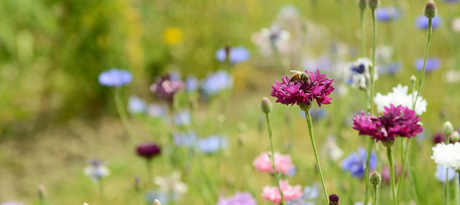
Good neighbors and bad neighbors
✅ Good neighbors
- Onions (onion, leek, garlic)
- Red Beet
- Celery
- Swiss chard
- Chervil, dill, mint, rosemary, sage, thyme, chamomile and other herbs
- Cucumber
- Pumpkin
- Lettuce, spinach
- Potato
- Nasturtium (nasturtium)
❌ Bad neighbors
- Mustard
- Tomatoes
- Pepper and bell pepper
- Strawberries
- Beans
- Eggplant>
- Parsnip
Dangers & Concerns
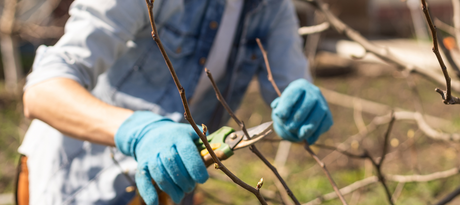
- Cabbage root fly and cabbage whites are the main pests. A cabbage collar helps against the cabbage root fly, but of With insect screen you are really playing it safe.
- Crop rotation in the cabbage patch and an airy location limit diseases and soil problems.
🧺 Harvesting & storing
Harvest broccoli when the central flower bud is nice and full and compact, but before the yellow flowers burst open. After cutting off the main head, the plant often produces smaller side shoots that you can cut later. can harvest.
Nutritional value per 100 g (cooked, without salt)
- 35 kcal
- 0 g fat
- 7 g carbohydrates
- 2 g protein
- 3 g fiber
- 1 g sugar
- Vitamin A, B6, C, E and K
- Thiamine, pantothenic acid, calcium, iron, magnesium, phosphorus, riboflavin, folic acid, potassium and manganese.
Table of Contents:
Introduction
(Full Latin name: Brassica oleracea var. italica)
Broccoli is a nutritious vegetable that can be used in a variety of ways. You can eat it fresh, lightly sauté it, or use it in stir-fries, soups, pasta, or rice dishes. If you follow a few simple broccoli growing tips, growing your own broccoli isn't difficult at all. Read all the tips about growing broccoli, from sowing to harvesting, here :)
Broccoli is a green vegetable that vaguely resembles a miniature tree. It is closely related to cabbage, Brussels sprouts, kale, and cauliflower—all edible plants belonging to the cruciferous family. Broccoli differs from other brassicas in that it is primarily grown for its flower buds, while other brassicas, such as cauliflower, Brussels sprouts, and kohlrabi, have other edible parts. The compatibility and differences between broccoli and other brassicas are important when planning crops, for example, for cross-pollination and optimal growing conditions.
There are three main varieties of broccoli:
- Calabrian broccoli
- Sprouting broccoli
- Purple cauliflower - despite its name, a type of broccoli