Grow your own mushrooms in 5 easy steps
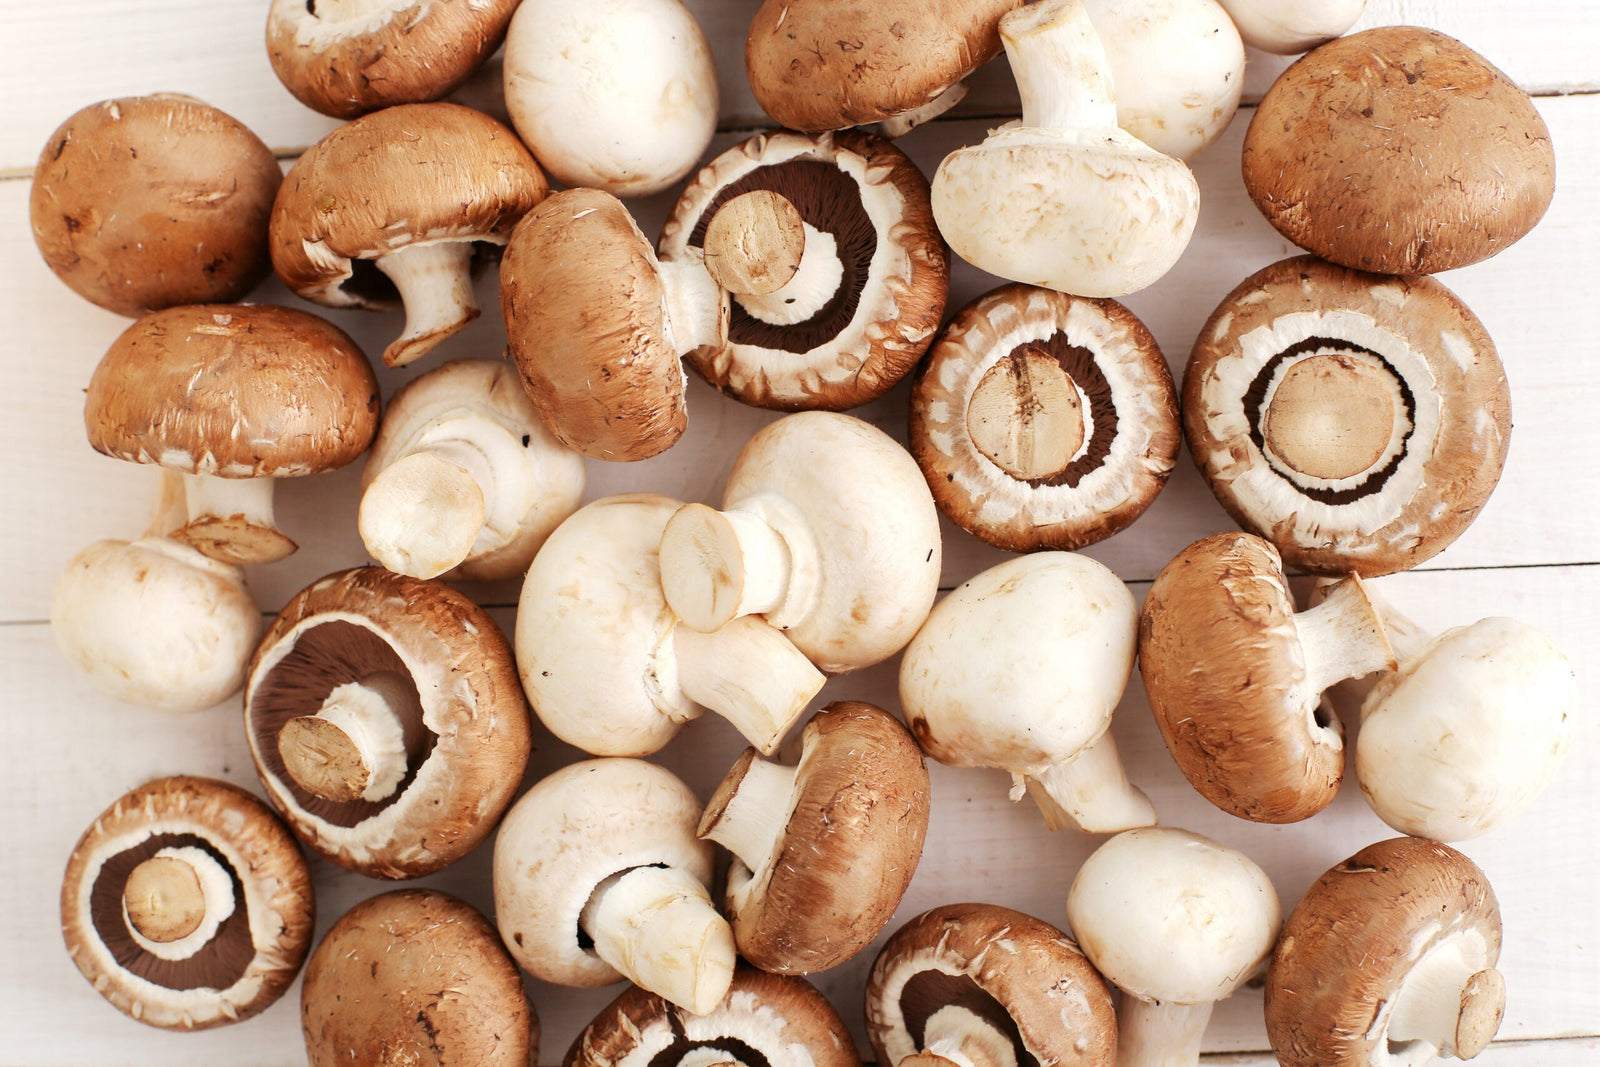
The days are getting much shorter, and it can be quite chilly in the mornings. Autumn has truly begun! It makes me long for a delicious toast with crispy fried mushrooms, a little garlic, parsley, and a hint of lemon. My mouth is watering just thinking about it. You might think that vegetable gardening is over now that you can't plant anything anymore. That saying isn't true; on the contrary, now is the ideal time to plant spring bulbs, plant (small) fruit, plant winter seed potatoes, grow chicory from chicory roots, AND to grow your own mushrooms. Last year, my boyfriend and I grew our own mushrooms for the first time. It was a lot of fun. We used a mushroom growing kit, which made it very easy.
Mushrooms require a bit more effort to grow than most vegetables, but with a good guide, they're very easy and rewarding. Especially with a mushroom growing kit, you suddenly have everything you need to grow gourmet varieties like oyster mushrooms and shiitake, in addition to the more common white mushrooms. This year, we're going to grow our own mushrooms again. I'd love to share my tips and tricks so you can grow your own mushrooms too.
Before you start growing mushrooms
Before I describe the growing process, it's important to explain a few key terms.
- While most plants are grown from seeds , mushrooms and other fungi are grown from spores .
- When mushroom spores mix with soil or another growing medium, a white, root-like substance called mycelium grows.
- A mushroom substrate is a substance on which mycelium can grow. For white mushrooms, the recommended substrate is a mixture of compost and manure.
- Mushroom spawn is a substrate on which mycelium is already growing.

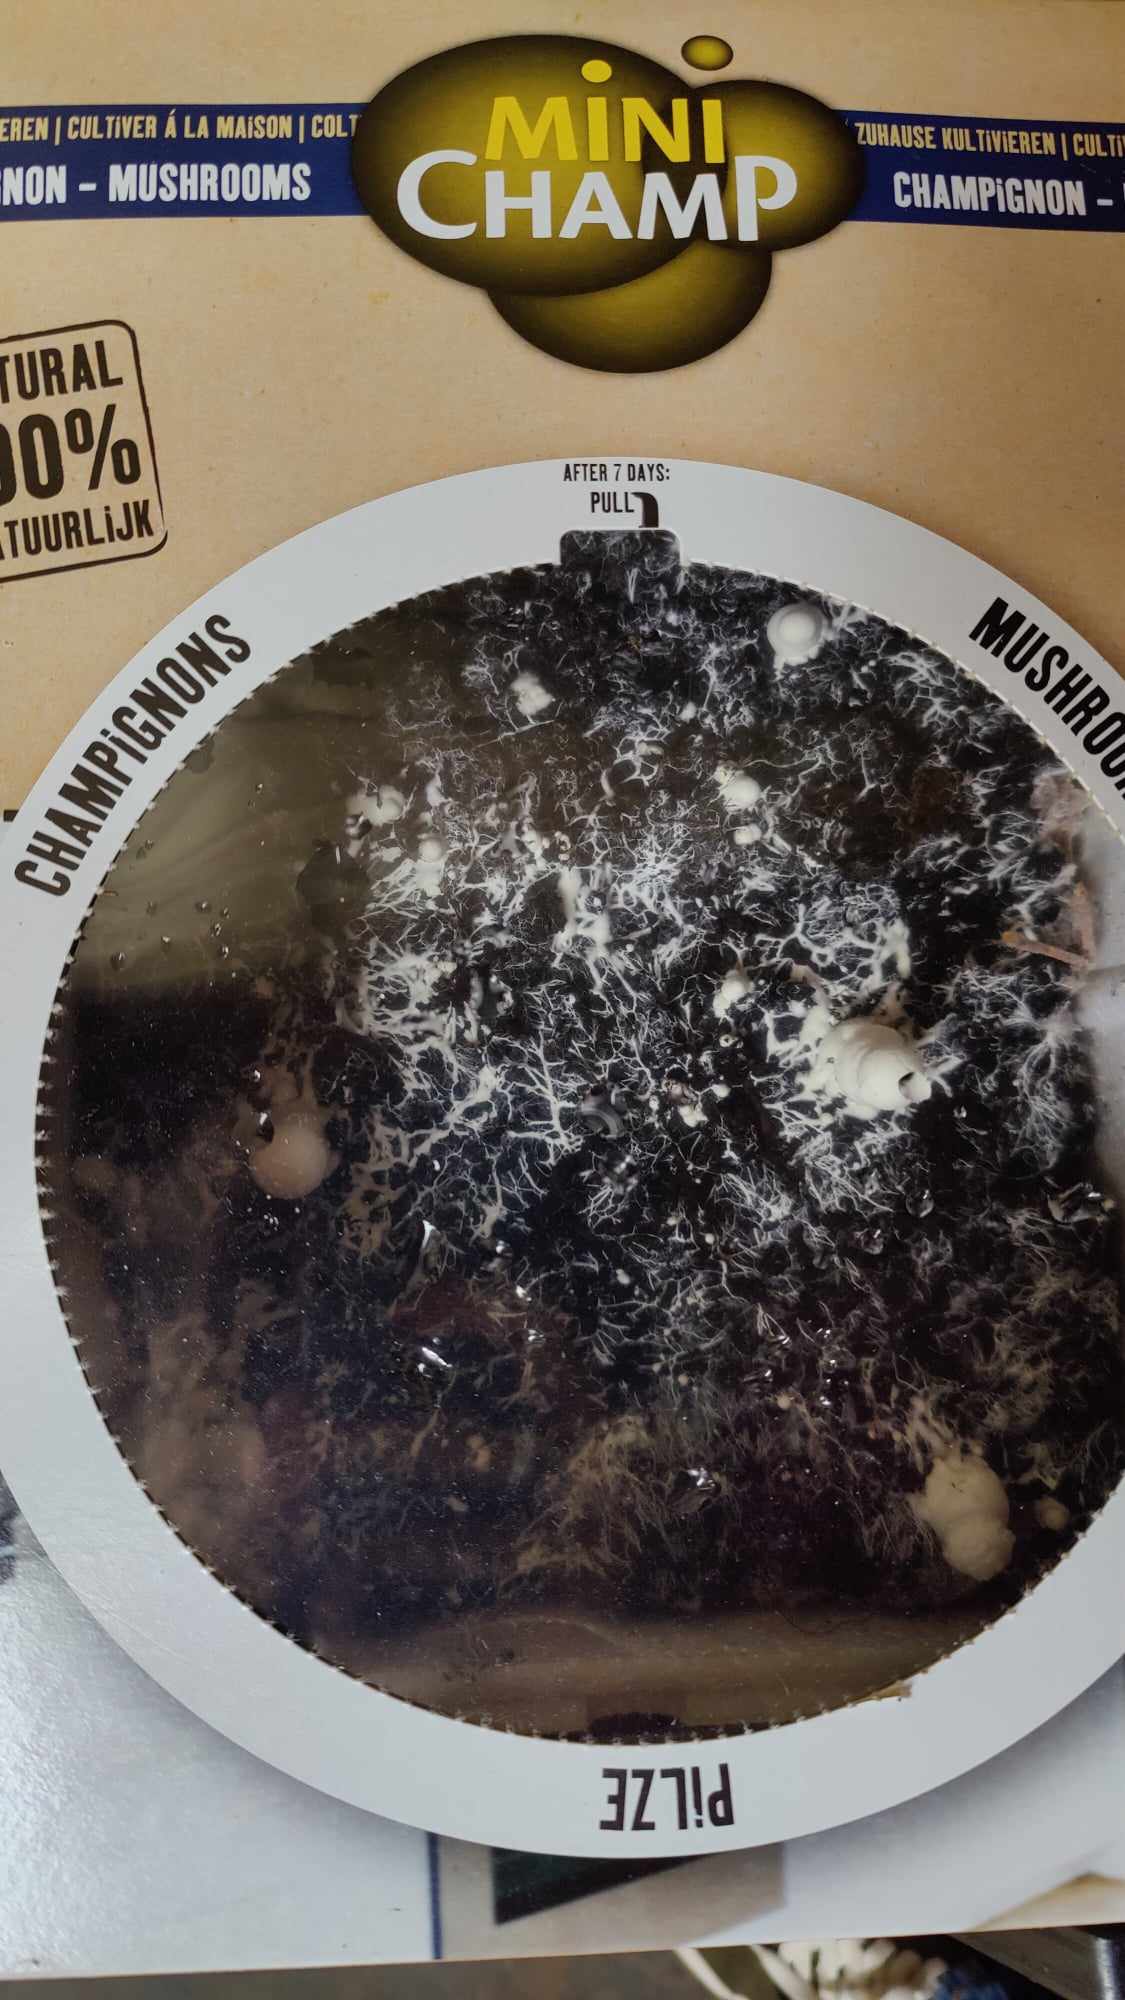
Growing your own mushrooms indoors (in the photo oyster mushrooms: my favorite!)
Growing your own mushrooms: step-by-step plan
The secret to growing oyster mushrooms, shiitake mushrooms, or almost any other mushroom variety is creating the right growing conditions.
There are two ways to grow mushrooms. You can inoculate mushroom spores into a substrate (the equivalent of planting seeds) or use mushroom spawn (the equivalent of planting vegetable plants).
Instead of buying your own spores, substrate, grow trays, and so on, I prefer a ready-made mushroom grow kit. These kits contain both substrate and pre-inoculated mushroom spawn. If you want to grow your own mushrooms with a mushroom grow kit, skip to step 3.
STEP 1: Choose the right growing medium and add spores.
The first step is to prepare the substrate, or growing medium. To do this, start with a growing tray approximately 50 by 40 cm and 10 cm deep. Plastic is ideal for hygiene. A Danish tray is ideal. Fill the tray with a mixture of compost and manure or coffee grounds, leaving 2.5 cm of space at the top. Then spread the spores over the top.

STEP 2: Make sure the soil stays moist.
Mushrooms thrive in a humid environment, so it's essential to keep the soil moist throughout the growing process. To keep your growing medium moist, mist it once or twice a day with a spray bottle or cover it with damp towels.
Each mushroom variety prefers a different growing medium, such as wood chips, hardwood sawdust (good for shiitake mushrooms), composted manure (good for white mushrooms), straw (good for oyster mushrooms), or coffee grounds (also good for oyster mushrooms). That's why I personally prefer using a mushroom growing kit. The kit always contains the correct growing medium. Super convenient!
STEP 3: Ensure the correct temperature (21°C)
For the first few days, the substrate temperature should be 21°C to promote growth. You can achieve this by placing the trays in a warmer room in your home, or by placing the tray on a seedling heat mat. Choose a heat mat that allows for precise temperature control and place it under the tray. If you don't have a heat mat with temperature control, use a soil thermometer to monitor the temperature. Never allow the soil to exceed 21°C, as higher temperatures can kill the spores. You can also place your grow kit in the living room for a few days, where it will usually be around 21°C. Monitor your grow kit closely; as soon as you see mycelium developing, proceed to step 2.

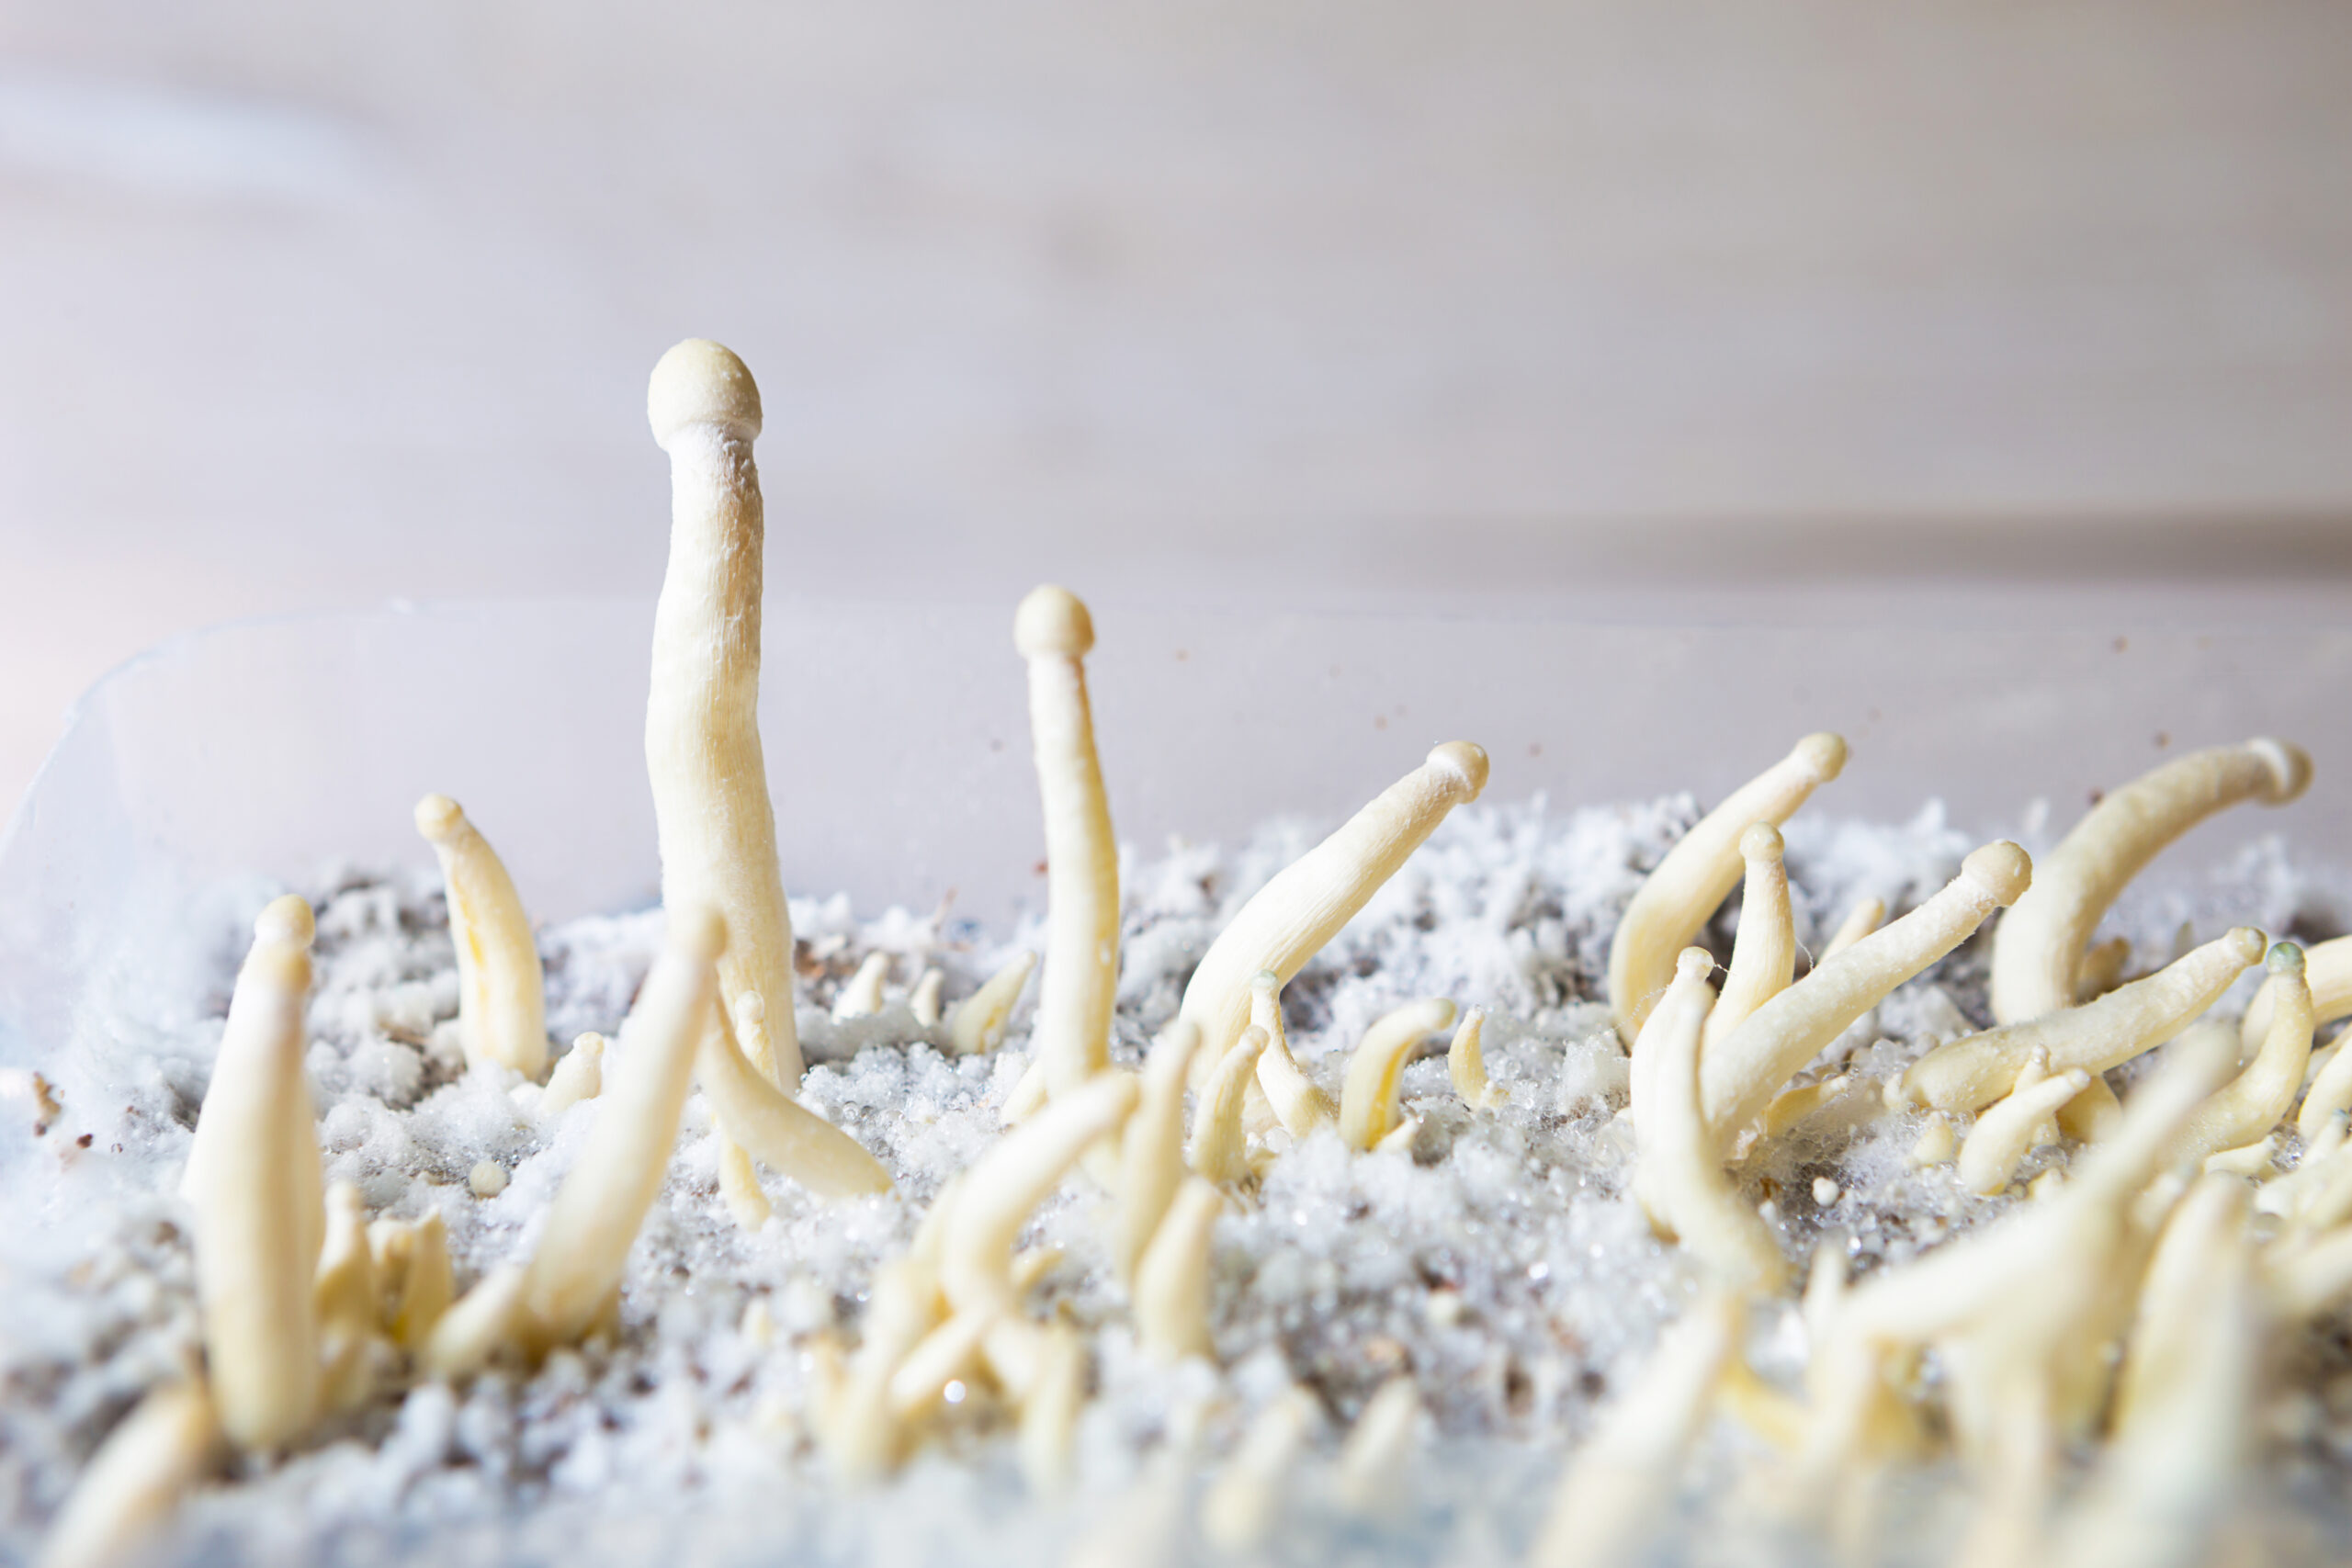
Mycelium covers the earth and the first mushrooms are on their way
STEP 4: Reduce the temperature to 12°C to 16°C
White, root-like growths (mycelium) will soon appear on top of the soil. Once the entire container is covered, it's time to lower the temperature. While many vegetables need to be grown in the summer, growing mushrooms is a great winter project because they thrive in cooler temperatures. Growing your own mushrooms can be a fun project to do with your (grand)children during the Christmas holidays. Lower the soil temperature to between 12°C and 15°C (you'll need to remove the heating pad from under the container and perhaps move your container to a cooler location) and cover the mycelium with about a centimeter of potting soil . I currently keep my grow kit in our garden shed or garage (provided it's not freezing outside, of course).
After a few days at this temperature, small mushrooms known as primordia will begin to sprout.

TIP: Keep your grow moist, but not wet.
Keep your growing medium moist, but not wet. Mushrooms thrive in moisture, but they won't thrive if they're soaking wet. Try misting your growing medium occasionally with a plant sprayer , but make sure the substrate doesn't become soggy. Some mushroom growers cover their mushroom tray with a damp cloth or loose-fitting plastic bag to retain moisture.
STEP 5: Harvest the mushrooms and enjoy!

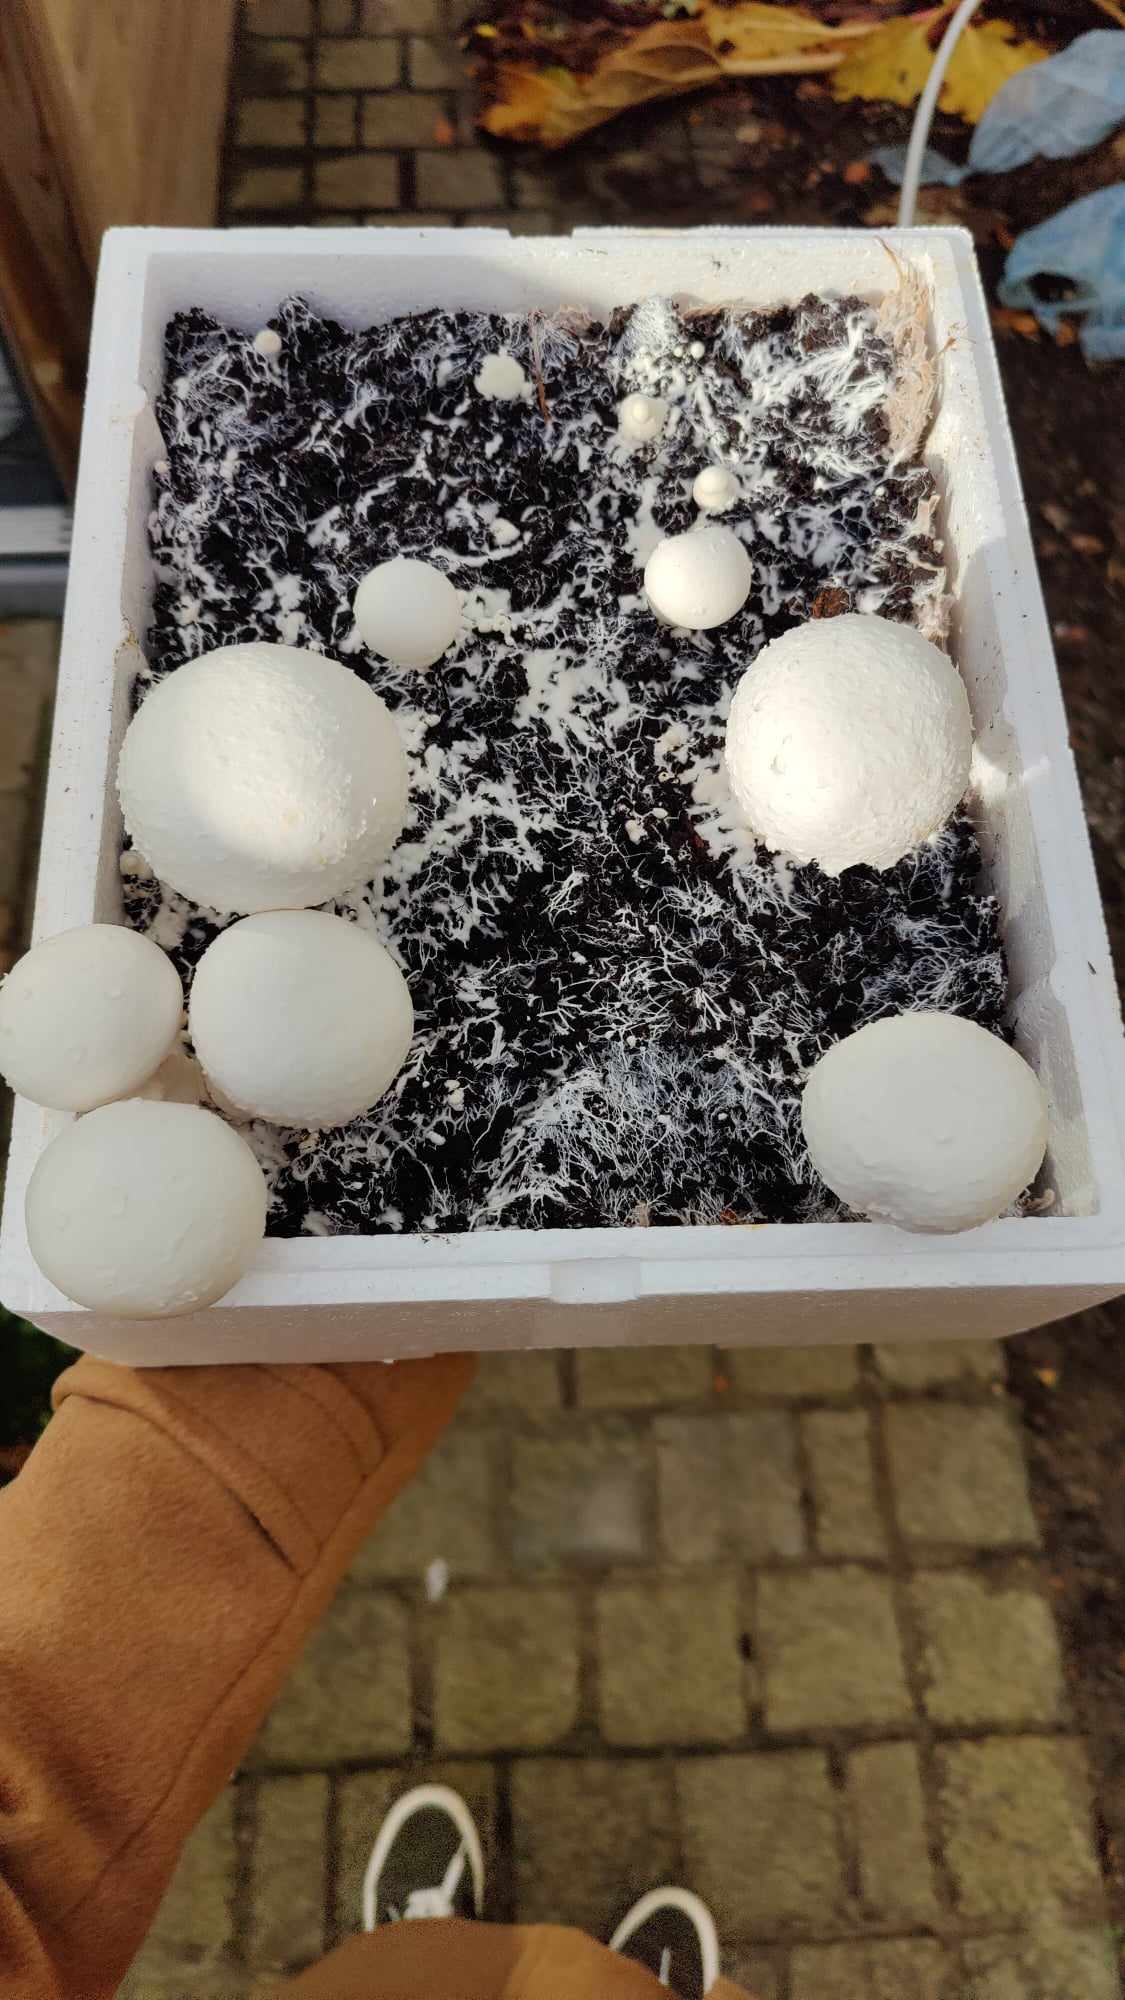
Mushroom growing kit: almost ready to harvest
Harvest your mushrooms after a few weeks. The mushroom germination process is called fruiting. In most cases, this will occur three to four weeks after you plant your mushroom spawn. The crop will start as small mushrooms (primordia) and then grow rapidly. You can tell if mushrooms are ripe when their caps fully open and begin to separate from the stem. Check daily to harvest your mushrooms at the right time. Carefully cut your mushrooms loose; don't pull them, as this can damage the mycelium.
Paris mushrooms should be fully grown after three or four weeks. You'll know they're ready to harvest when the caps fully open and separate from the stems. To harvest the mushrooms, use a sharp knife to cut the stem. Don't pull the mushrooms out of the ground, as this can damage the surrounding growth.

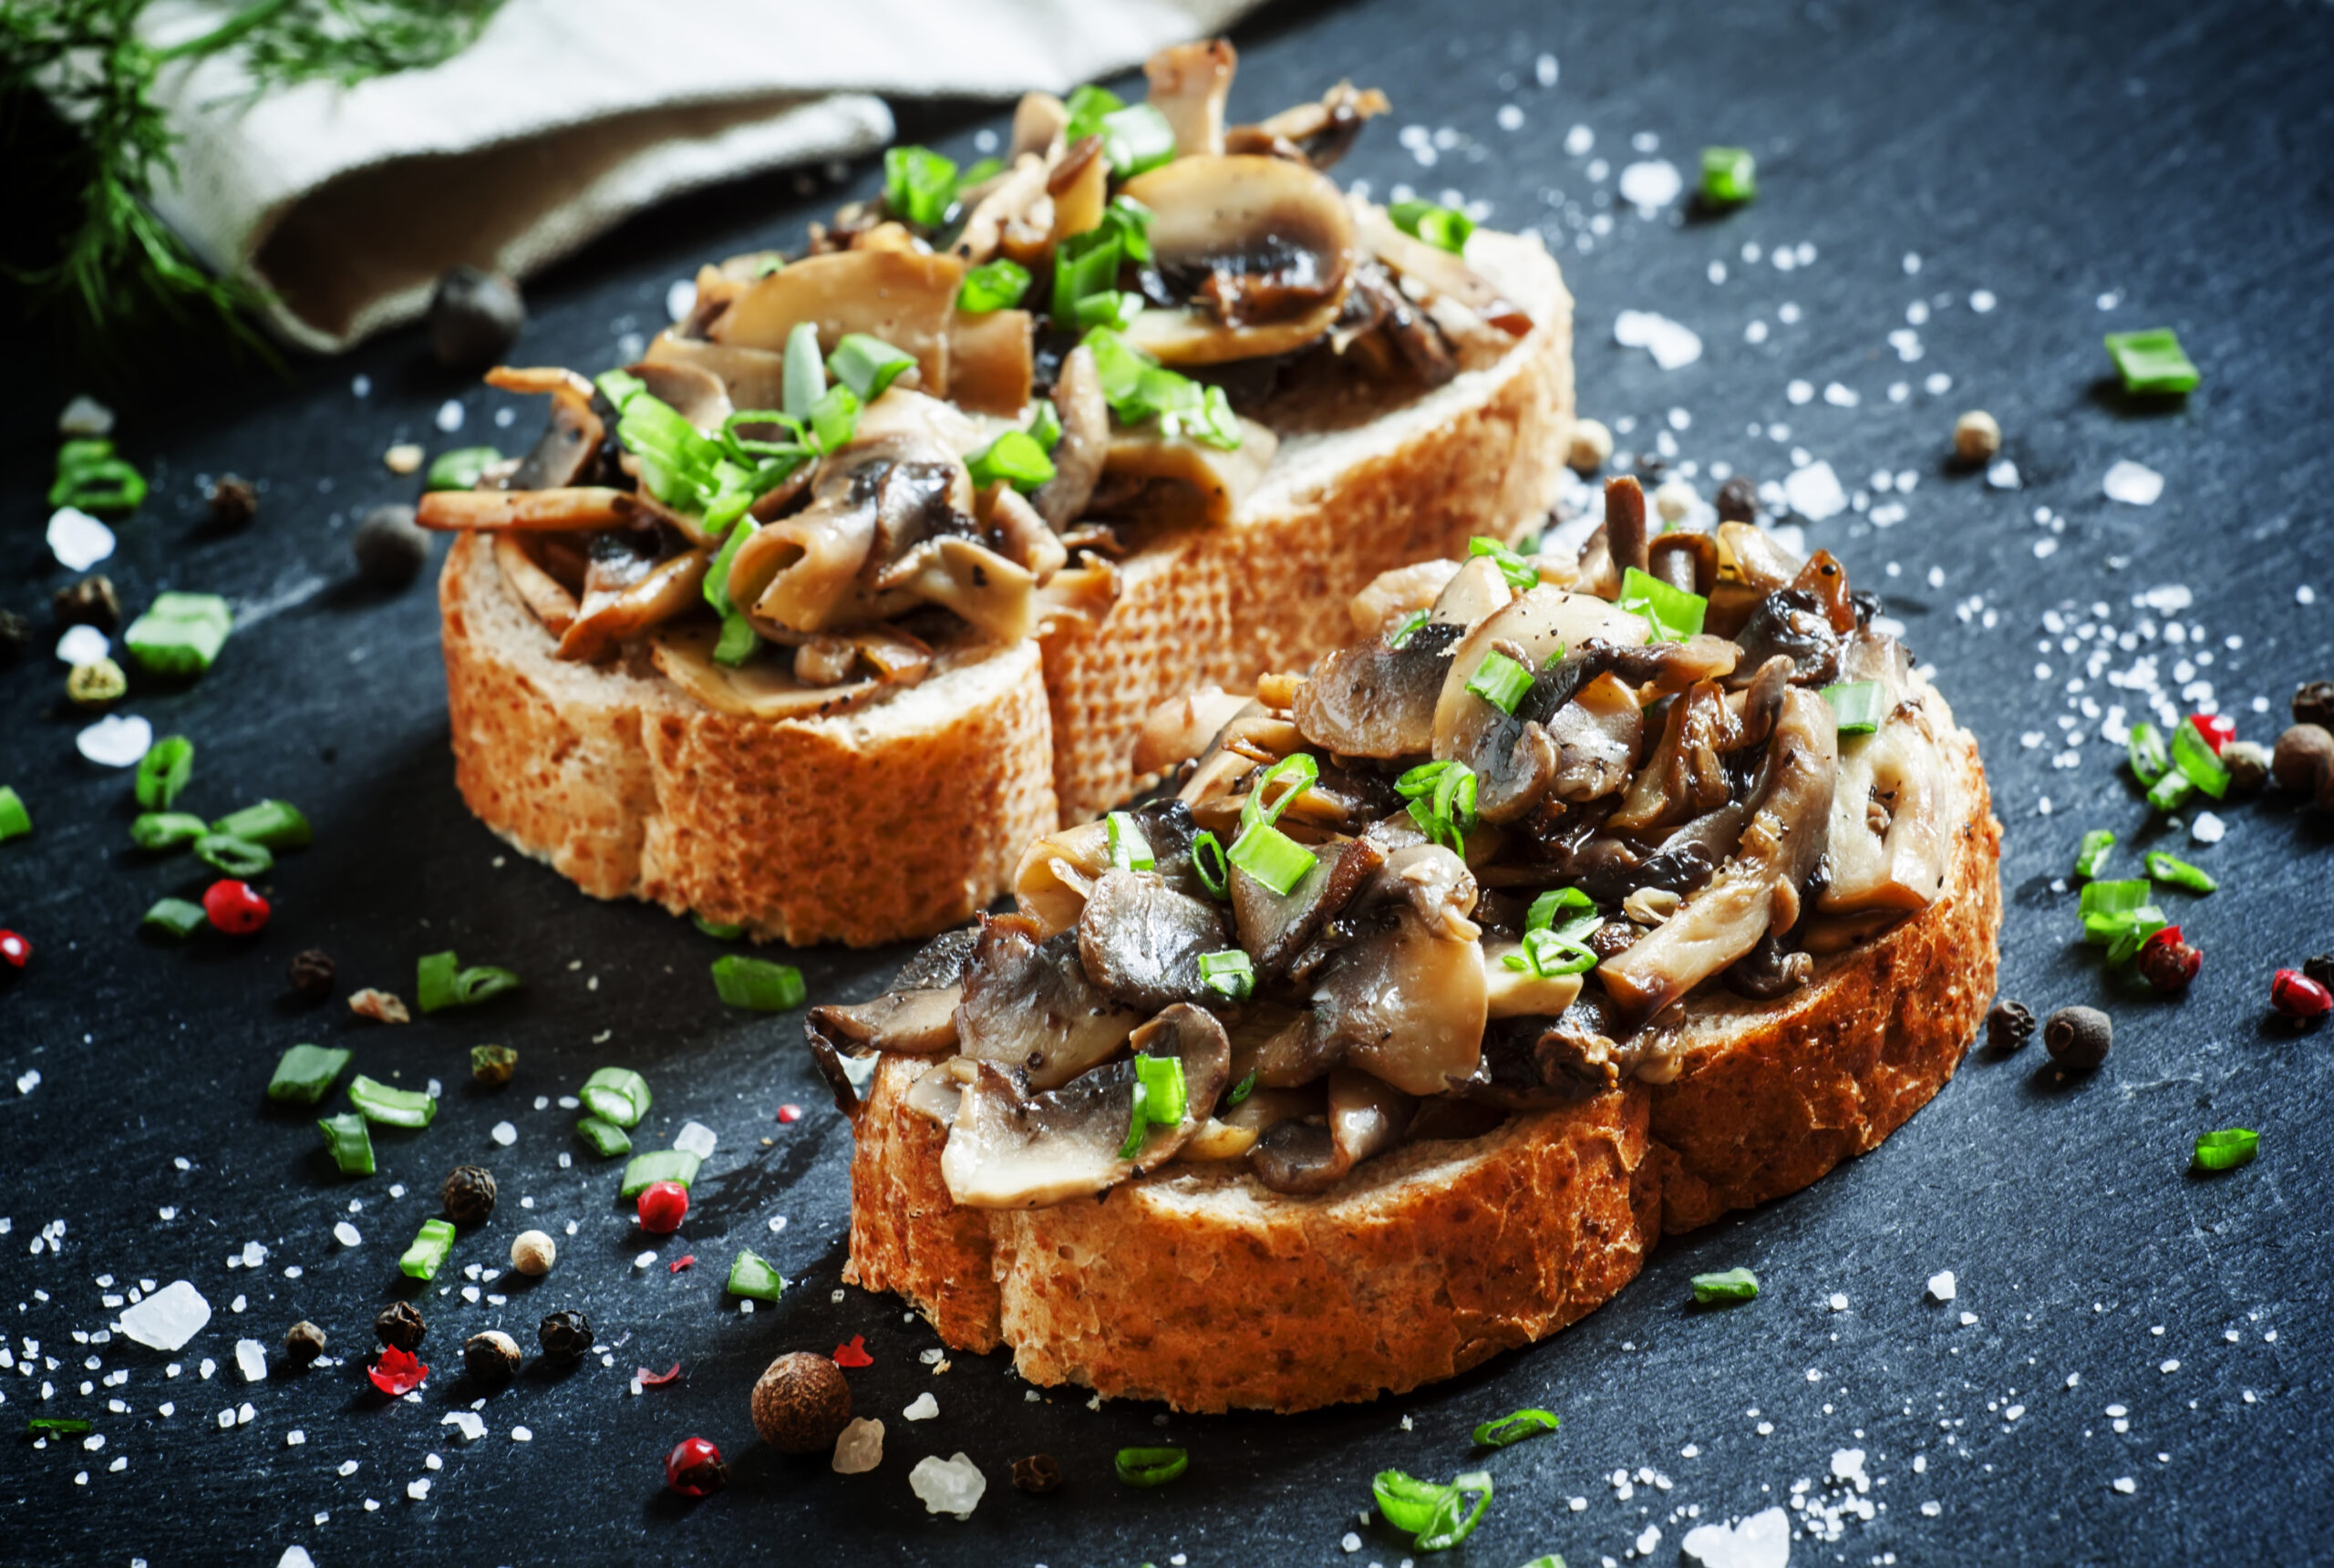
Mushroom toast with home-grown mushrooms—you've never had such delicious toast.
Finally, about growing mushrooms
The mushrooms will continue to grow in successive harvests. Keep a close eye on the humidity, temperature, and ventilation. So, that's all the information I have and can share with you about growing mushrooms. I hope you've learned something new. If you found this article valuable and would also like to get started with mushroom growing kits, consider subscribing to our online store . This way, you ensure we can continue to produce information and videos about things in and around the vegetable garden.
Greetings, Sarah

1 comment
Heeft u ook kweeksets voor kastanjechampignons ?
Kan ik op de website niet vinden.