Making your own jam instantly makes you happy. Plum jam isn't just for sandwiches, it's also great with savory dishes. Blackberry jam is packed with vitamin C and antioxidants, and making your own strawberry jam is truly self-explanatory.
A bountiful harvest of perfect strawberries. A blackberry bush bursting with fruit. When a season is at its peak, it's tempting to stretch it out as long as possible. That's what preserving is all about: keeping fresh fruit usable well beyond its best before date. In this article, I'll explain everything about making and preserving jam—with berries, stone fruits, tomatoes, apples, or pears—so you can enjoy these seasonal products all year round.
What do you need?
If you're willing to invest, a copper pot is ideal for making jam. Copper conducts heat more evenly than stainless steel and reduces the risk of burning. But a heavy stainless steel or coated cast iron pan also works. Choose a pan that's wider than it is tall: more surface area means more even cooking and faster evaporation of moisture. Do you have an induction cooktop in your kitchen? Then you can still use a copper pot thanks to an induction cooktop runner.
Wooden spoons are heat-resistant, sturdy, and easy to clean. They're ideal for stirring jam while cooking and for loosening stubborn bits of fruit. Canning tongs or jar tongs with heat-resistant rubber tips help you safely lift your jars in and out of hot water, and a wide-mouthed funnel or funnel helps you transfer jam from jar to jar without spilling.
A small, wide sieve with a fine mesh is best for skimming the foamy bits from the jam while it's cooking, but a flat, wide tablespoon will also work. A bowl of water next to the stove to rest the sieve or spoon in will keep them clean between skimmings.
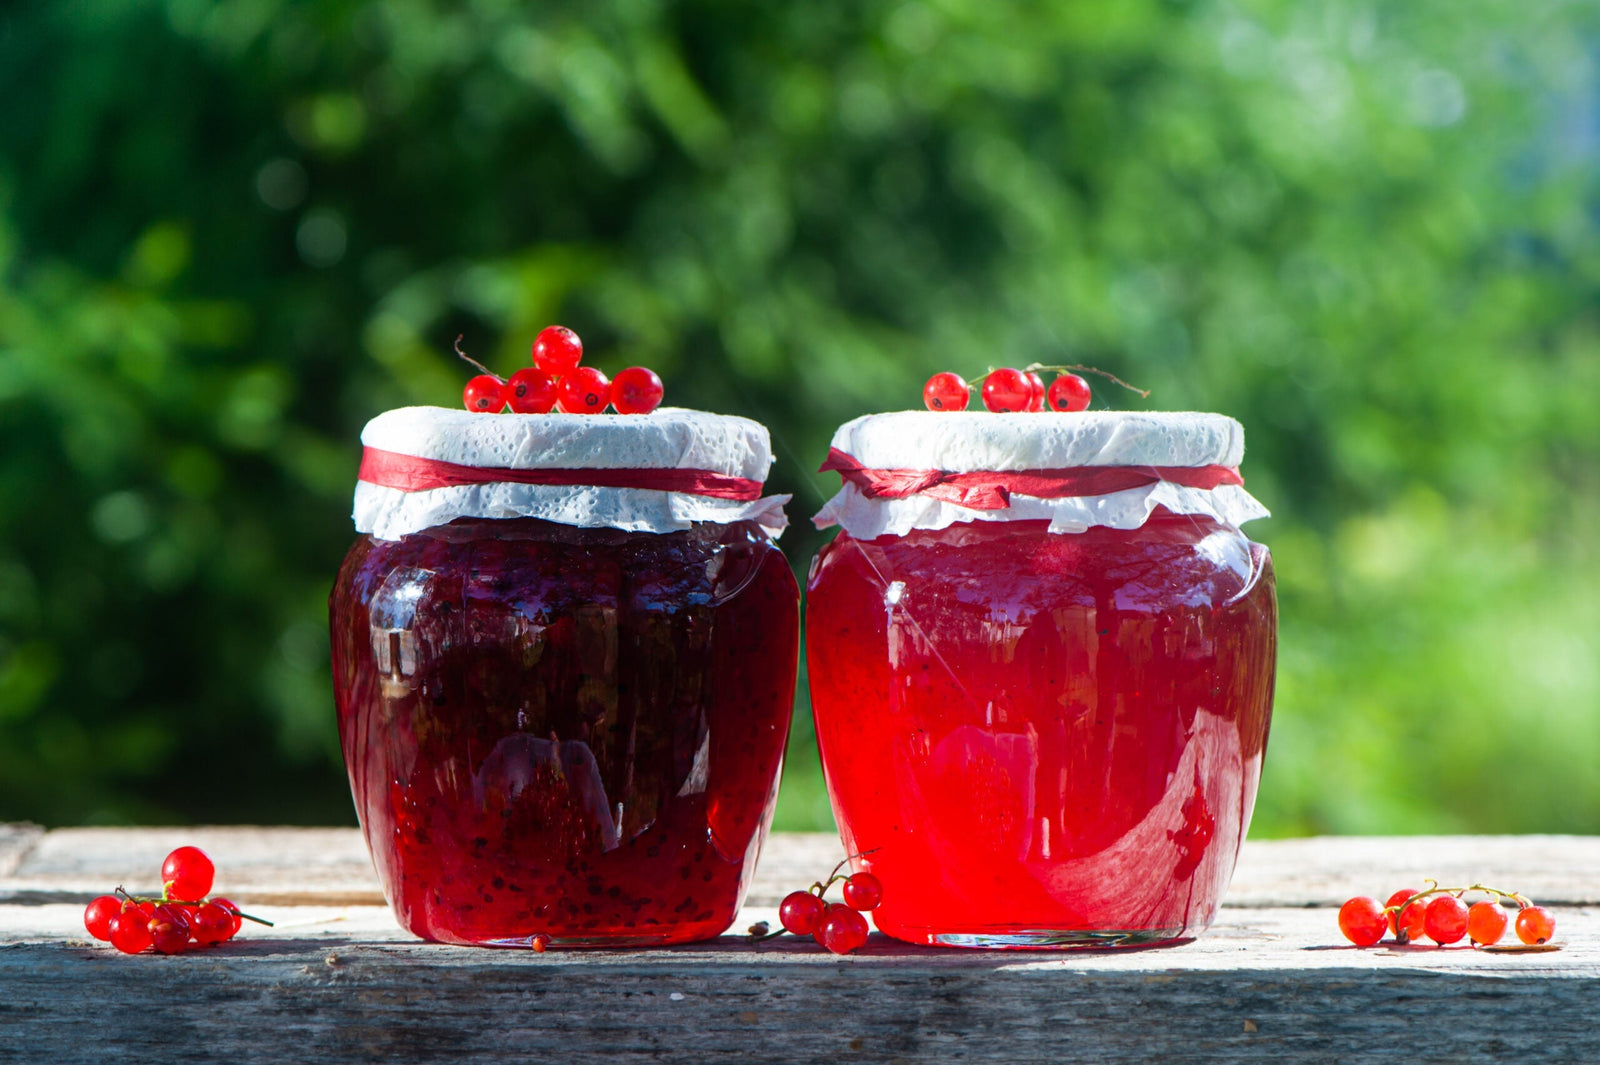
Jars are available in many sizes and styles, but whatever you choose, make sure they are suitable for canning. They should have a resealable lid with a rubber seal on the inside. Jars can be resterilized and reused, but the lids cannot.