How to make pickles: introduction
Pickling pickles is a popular option, although they can also be eaten raw. Pickling gives the pickles a unique flavor and extends their shelf life. Pickling allows you to store them for much longer, sometimes months or even years, because the preservation process significantly extends their shelf life.
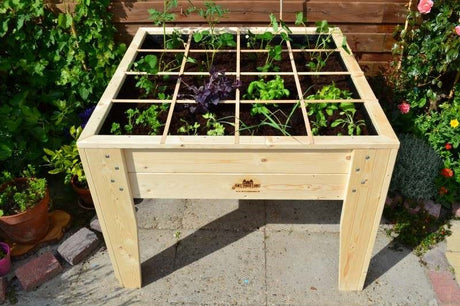
It's always a wonderful moment: a homegrown pickled sweet and sour that gives your dish a kick in the ass. I love it. So do my daughters Ella and Sam's faces when they nibble on a pickle with their sandwich. For my darlings, I make them a little sweeter, but for me, it feels like the salivary glands in the back of my jaw are being ripped loose :) Pickling pickles is also a wonderful activity that the kids love to help with. With this recipe, you can make the most delicious pickles yourself. In the vegetable garden, you can harvest all sorts of vegetables, like cucumber, zucchini, and gherkins, which you can then pickle or use fresh.
Gherkins are easy to grow. If you have wire or mesh in your garden, they climb beautifully. You can choose from various seeds for growing gherkins; the choice of seeds also determines the flavor and size of the gherkins. Gherkins, cucumbers, and zucchini can grow close together, so ensure there's plenty of space between the plants. Choose multiple plants and pick regularly. In one day, you can sometimes harvest several cucumbers and zucchini to take home. It's normal to check the plants daily and ensure they have sufficient water, especially on hot days. I personally prefer the National - Small Green variety. They produce small, juicy, and flavorful gherkins that don't grow into those monstrous things that are difficult to pickle. Always ensure the correct pickling process to ensure the gherkins stay tasty and crispy. Pickled gherkins are also delicious in a salad. How do you go about it?
What kind of jars do you use when preserving pickles?
When preserving, choosing a jar type isn't a matter of haphazard choice. If you're preserving something acidic, such as pickles, beets, onions, carrots, and so on, you need to create a vacuum seal in your jar. Even though the vinegar in your mixture has preserving properties, it's not enough to preserve your treats without a vacuum seal.
You can create a vacuum seal in mason jars or glass jars with screw-on lids. In this article, we'll be using glass jars with screw-on lids. In either case, you sterilize your jars before canning. After canning, there's no need to sterilize them further, for example, in a canning kettle. The hot liquid creates a vacuum seal as it cools, and the vinegar solution has already killed any bacteria and mold.
Tip: If you opted for a milder mixture with less vinegar, consider soaking your jars for an additional 20 minutes near boiling point.
In this video, my fellow Picker Ruud explains the difference between preserving jars, storage jars, and regular glass jars with a screw lid:


